Thursday:
We started at about 8:30am. David worked on getting the pier locations marked out so Doug would have a good target to hit with the auger.

David marked with paint where my dad and I had left markers
Then Doug got the Bobcat setup with the auger.

Now that should make a hole!

Are we deep enough yet?

Not yet, keep going.

Ah, that looks good.
After Doug made a hole, David and I put in the tube, and got it in its proper position, and pushed some of the dirt back into the hole around it. This held it in place while we continued to work. We continued working our way down the line. David and I checked the depths, and made sure that each pair of piers matched up. Each rack will be independent of the others, so we wanted to end up with each set of 4 piers having the same height. The pier on the high ground of the set, was to be about 4 inches out of the ground. The result was that the sets of piers step down the hill.

Doug continues to dig holes

The front set is done, now we set up for the back set.

Almost done with the holes.
It took all morning, but we got all of them dug. To make sure they were lined up where we wanted them, we used one of the templates that my dad and I had fabricated. This template has L bolts attached in the positions where they will need to be to mount the base of the aluminum racks. We got them all lined up.

28 holes in the ground
That was the morning work. Then it was on to prep the garage. Over the winter, people had been walking through on the gravel, some of it had been moved to put in the foam, and the plastic had gotten pushed around. Doug and David worked on getting it back into a state where it was ready for concrete. They also had to get the Nudura forms at the front of the garage back into position. They had gotten pushed and squished over the winter, and needed to be pulled back apart to the proper width. They put in additional spacers to hold the foam where they wanted it, until they started the pour. They put chalk lines on the walls to mark where the concrete was supposed to come up to, and they put stakes in the ground, with nails through them to mark where the concrete was to come up to in the middle of the floor.

Evening up the gravel


Plastic, chalk lines, and stakes are in place
Now I have told people that I want to avoid wood on the outside of the home, because we have at least three insects in this part of the country that like to make a home in wood. Carpenter ants, termites, and carpenter bees. Carpenter bees at least, do not care if the wood is treated or not. They started boring into a treated lumber handrail on my dad's deck, less than a week after he built it. Well, the carpenter bees were checking out the temporary wood bracing on Thursday, although this one apparently wasn't finding a spot that it liked.

Looking for a piece of wood to call home
Before they left, Doug and David put gravel in and around the tubes so they would stay in position when they poured concrete in them. I had to go pick up the drainage material from the same place that Newt had gotten the Nudura forms. I had not gone to this place before so I had a bit of an adventure finding it, even with a map. Then I had to get these rolls of material over to the storage unit. The rolls are 8 feet long, and I did not want to drive on the interstate with the rolls hanging out of the back, even though they were well secured. So it was a challenge to wind my way along roads that I have not driven before, and try to find my way back. I eventually made it.

They weren't that heavy, just bulky!
Friday:
Doug had the concrete scheduled to show up at 7:30am, so my folks and I got up at 5am, and headed up to the property. I picked up a few items from the storage unit, then headed to the property. We got there first, and I just drove the truck up around the back of the house to unload the templates. I just left it parked there, since it was out of everyone elses way. Doug and David showed up with Mark. Mark was there so they had enough people to get the garage floor worked properly.

Ten yards of concrete, ready to pour

Pouring the foundation wall, that sits on top of the footer, and under the front edge of the garage floor

Mark layed down plastic on top of the foundation wall, so if I ever have to take out the garage floor, I don't have to take out the foundation as well.


Doug started by pouring the area where the batteries will go, and making that level (the rest of the floor slopes toward the garage door)
Then they went on to pour the rest of the garage floor...


Meanwhile, dad was getting all the L bolts put into our templates.
They finished the pour, and got the garage floor screeded, so it was at the proper slope. Then they had to wait for it to set up a little, so they could finish it. While it was getting its initial set, they went and poured the piers. They had a bit of trouble getting the concrete truck over there. I don't want to think what would have happened if they had tried to drive it over when it was completely full.

Pouring the tubes, and leveling the top

Starting to set the frames while they continue to pour

After they finished pouring, we straightened up all the templates

Here you can see the stepped piers
While the piers were being poured, Doug went back over and used a bull float on the garage floor to give it a fairly smooth surface. Then we sat down and waited.

A smooth wet floor
Once it had set up for a while, Doug used another tool to make a groove in the concrete. If the slab cracks, it will hopefully crack in this groove, which will hide the crack pretty much.


Groovy!
Then they used another tool to make the groove look nicer. David also went and made a crosswise groove, so the floor was divided into 4 parts.
Mark touched up the first groove

David made a second groove, crossing the first
Doug used a bevel float to make a steeper slope at the garage lip, to help keep water from coming in under the door. He had to dig out concrete, then he used the bevel float to put in the slope.

Taking out extra concrete

Making a smooth lip on the garage floor with the bevel float
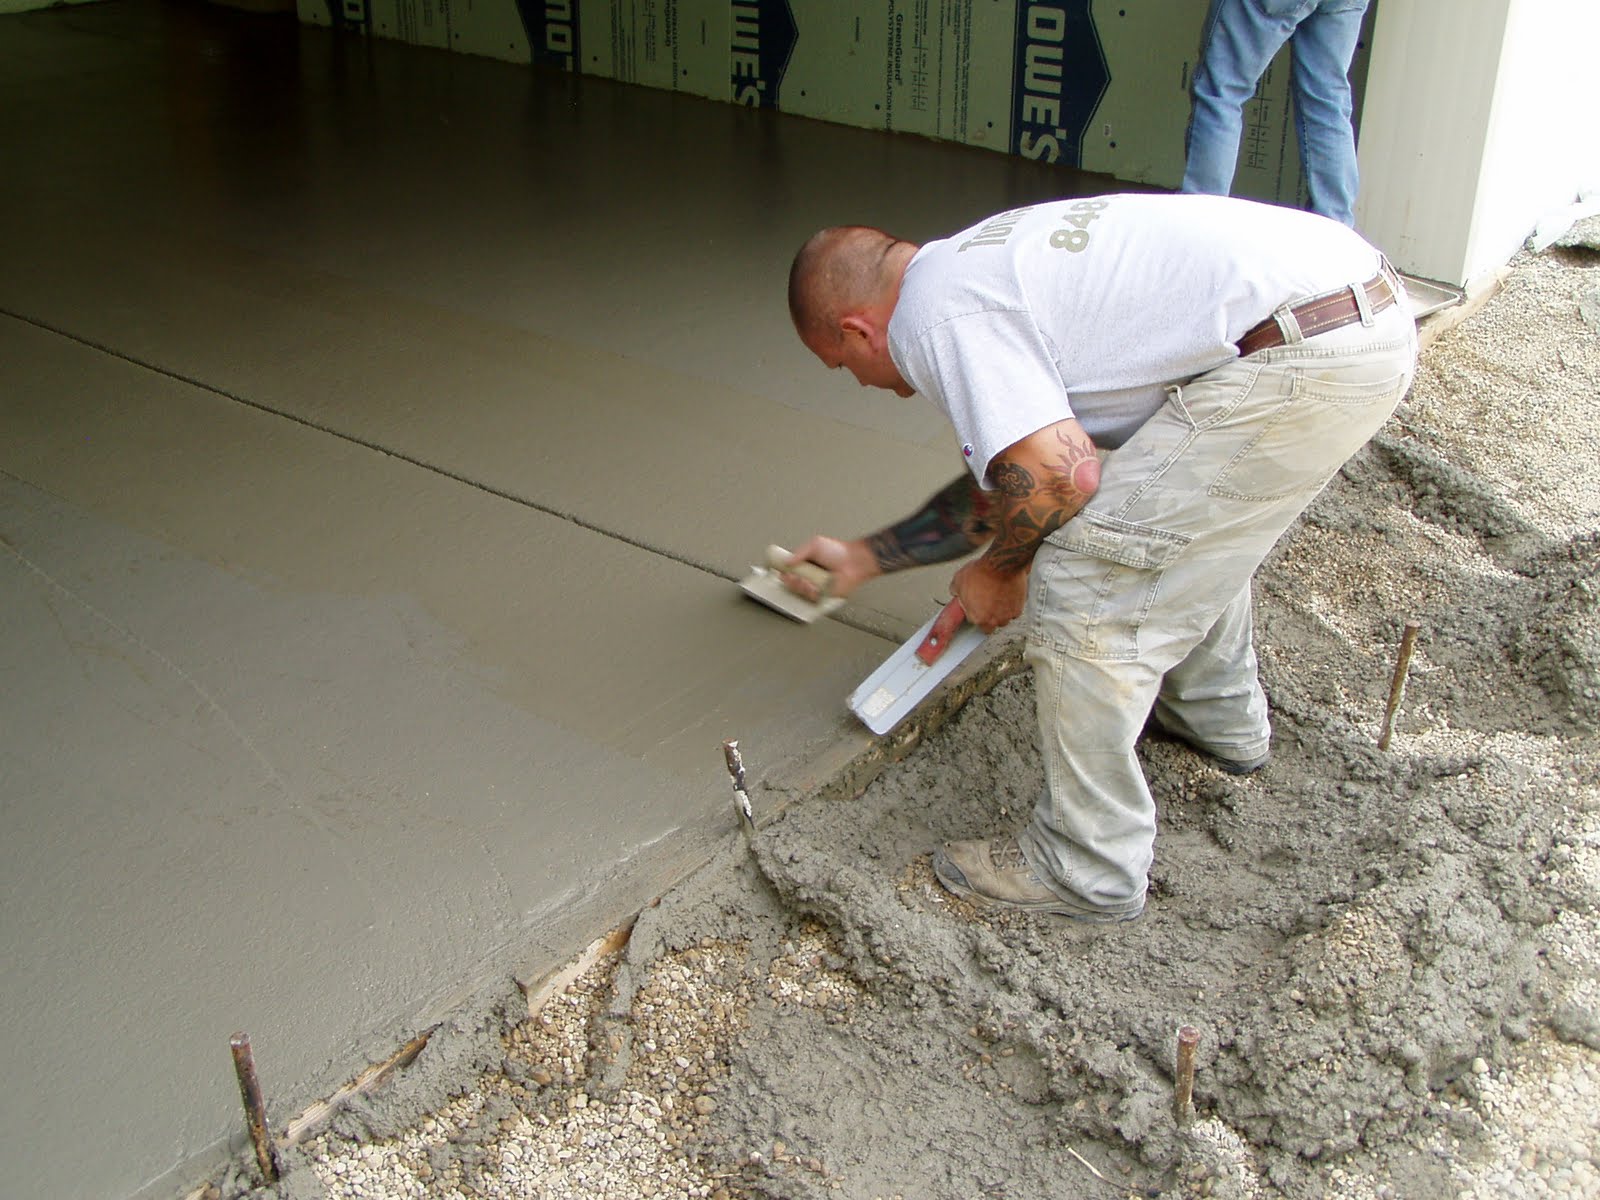
After they put the gooves in, they started working the whole floor with the floats for the first time.


Firt time working the concrete
There was quite a breeze, and as they were working the concrete we had some flowers falling from the trees come fluttering in on the concrete. I also spotted some other fine white stuff fluttering down on the lip of the slab. It took a minute, but I located where it was coming from. Remember the carpenter bee that was looking for a home on Thursday?

The bees will be evicted when the temporary support is taken down.
They went over the slab a second time with the floats. Then my folks and I went for some lunch. When we got back, David was the only one still there. He went over the whole slab a third time before he left. I now have my piers for the solar array, and I have my garage slab. Time to talk to someone about a front door, and a garage door, so I can really get the house closed in.
Ok, new question: how did you decide on ICF? Did you price poured walls? I ponder back and forth on that choice myself. Wondered how you came to your decision?
ReplyDeleteThere were a few things I considered when I decided to go with ICF.
ReplyDeleteAdvantages:
Insulation is "pre-installed" - I didn't have to try to attach insulation to the outside of the concrete
The inside has furring installed - I didn't have to install a bunch of furring strips on the concrete so I could hang drywall.
Wall pour less affected by weather - the ICF protects the fresh concrete from extreme temperatures and loss of water, so it should cure better.
Cost effective - I didn't have a similar shell put up with traditional forms, and I don't have the cost broken out separately for the walls and the floor, so it is hard to say how this really compares. But I was told that what I paid was significantly less than a traditional shell would have cost.
Disadvantages:
For an earth sheltered house, it would be better to have a higher percentage of the insulation on the outside of the walls, and possibly no insulation on the inside. So the mass of the concrete does its best job of moderating inside temperature fluctuations.
That foam is expensive! As I said, I don't have a comparison to traditional forms that I can make, but I suspect they are getting a good markup on these blocks of foam.
Newt already had a working relationship with a local company which distributes the Nudura blocks. So that is the system we went with. I think if I hadn't had that connection, I would have seriously looked at using Quad Lock and formed the walls myself. I would have used their blocks where they put twice as much insulation on the one side, and that would have gone on the out side.