Painting the utility room floor.

Before

After

Finishing the duct runs to the dining room

Installing columns on the walls

Finishing more duct work

Dropping the gas line to the water heater

Running wiring (oh what a tangled web)

Nestled under the green

More wiring, I am labeling the wires to keep track of which is which.

Hydronic manifolds plumbed, and ready to finish connections to the tempering tank, which will maintain the proper temperature water for the floor.

Heat will be transfered to the tempering tank, from the water heater, which is a 96% efficient propane water heater.

Laying out parts for the water supply manifolds.

Wiring the columns.

Quite a load ready to go. 2 solar panels in the bed of the truck, the rest of the parts of the vent house, and the aluminum for the 7 racks to hold all the solar panels.
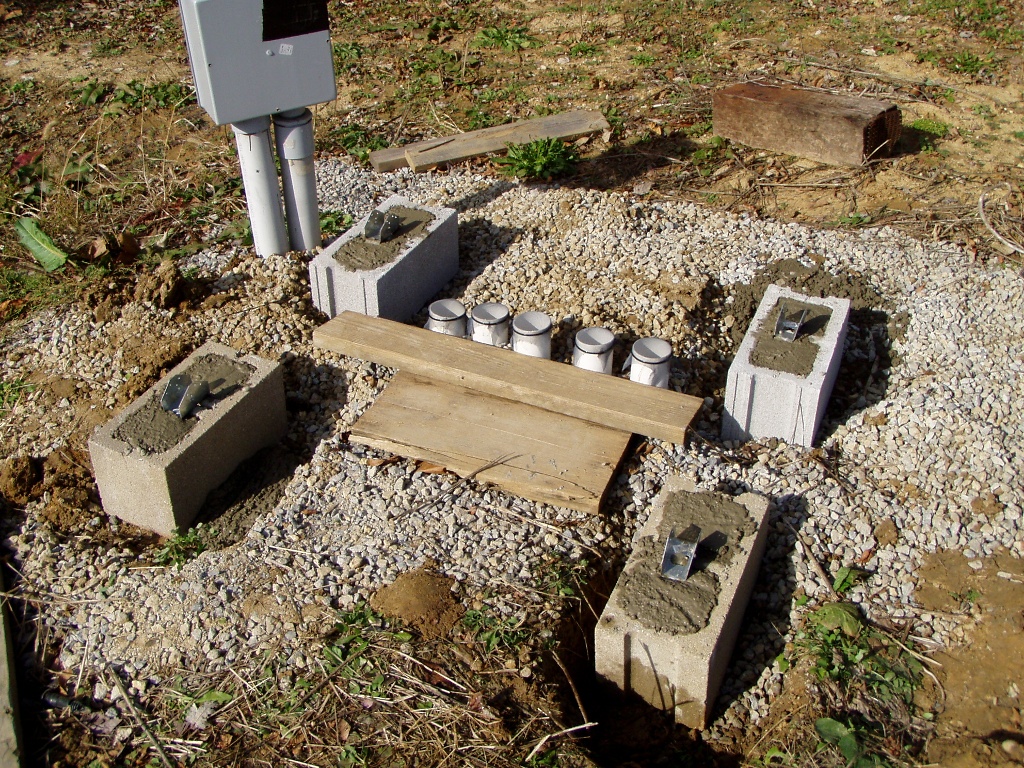
Blocks set to support the vent house.

First rack assembled
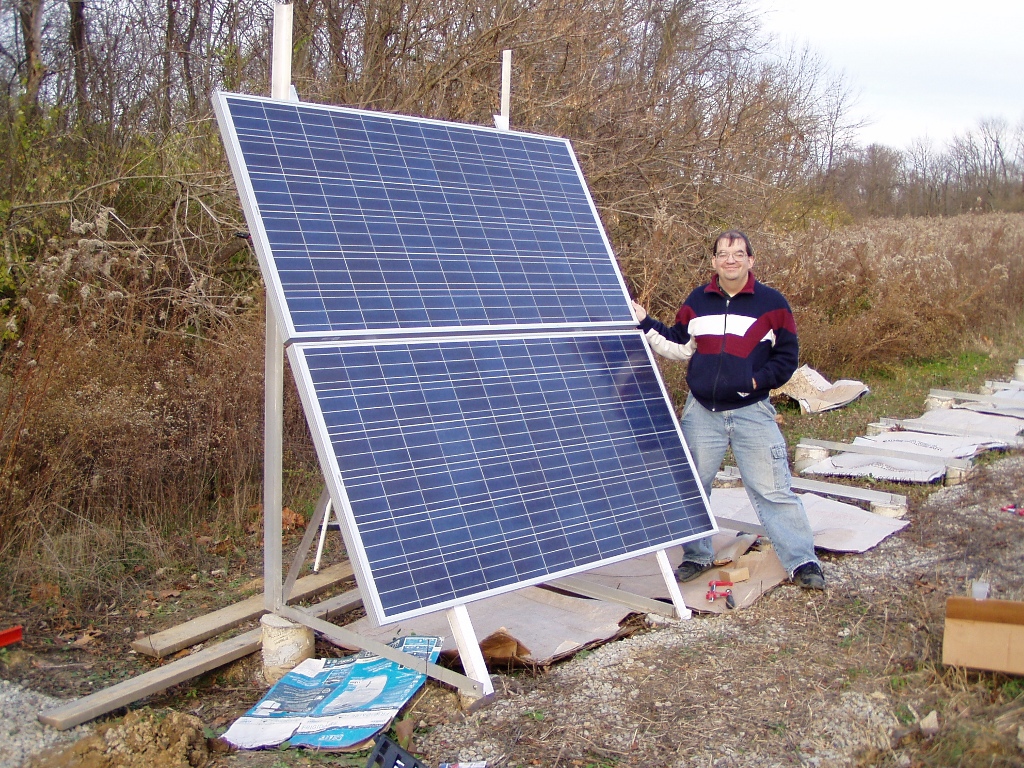
Panels mounted on the rack

Well line plumbed through water conditioner.

Water supply manifolds assembled, and attached to the wall, ready to plumb.

Finishing the conduit run, from the big junction box to...

The combiner box on the rack.

First panels are wired to the combiner, and power is now run all the way into the house from the panels.

Added a fuse and switch, to protect the batteries, and allow shutting off the battery power to the power panel completely.

Dad is framing up the roof for the vent house. He used metal braces that were used during the pouring of the walls for the house, to stiffen the roof framing without adding a lot of weight.
No comments:
Post a Comment